Deploying an OCI Pi-hole with Terraform
Deploying an OCI Pi-hole with Terraform#
The other day, I wrote about deploying a Pi-hole on an Oracle Cloud VM alongside Unbound and WireGuard. In that post, I explained how to set everything up manually through the web interface and CLI. This time, I wanted to automate the deployment using a shell script and OCI’s Terraform module.
Terraform#
Terraform is an infrastructure-as-code tool that lets you define and provision infrastructure through configuration files. Instead of manually setting up resources, you can describe them in a script, and Terraform will handle the provisioning.
To use it, you’ll need to install the terraform client. On Arch Linux:
pacman -S terraform
# ...or use your pacman wrapper, like paru
I haven’t installed Terraform on macOS or Windows myself, but you can find installation instructions in Hashicorp’s documentation.
Installing the OCI CLI#
The Oracle Cloud Infrastructure (OCI) CLI isn’t strictly required for this setup, but it can be helpful. You can find installation instructions in Oracle’s docs.
On Arch, install it with:
pacman -S oci-cli
Once installed, you can run the guided configuration setup:
oci setup config
Manual Config Setup#
I wasn’t initially aware of the CLI’s guided setup, so I configured everything manually. If you’d prefer to do the same, follow these steps:
In the OCI web interface, go to your profile and look for the API Keys section.

Click Add API Key. You’ll be prompted to download your key files—make sure to download at least the private key.
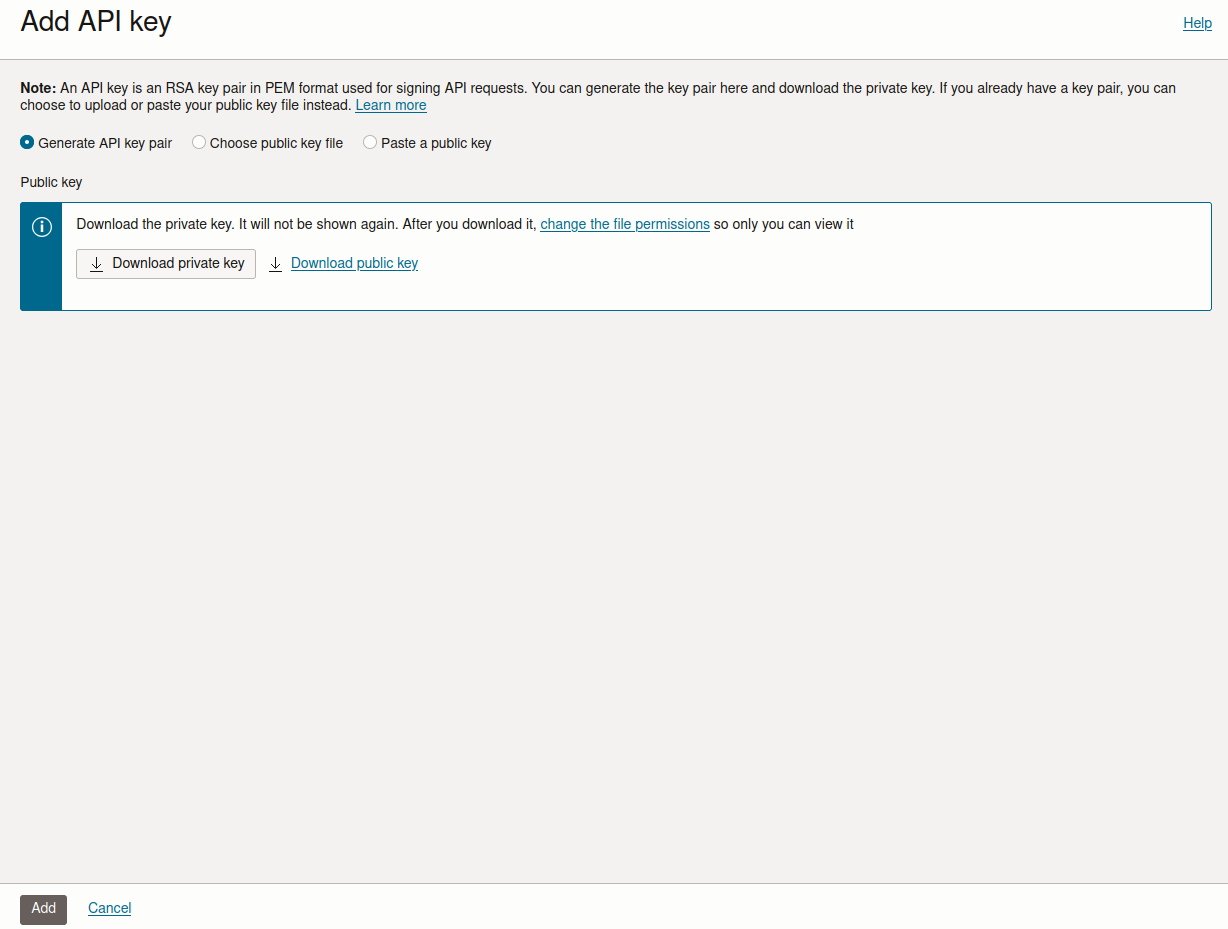
Move the private key to your
~/.sshdirectory, rename it to something likeoci-api.pem, and adjust its permissions:mv path/to/downloaded-key ~/.ssh/oci-api.pem chmod 600 ~/.ssh/oci-api.pemAfter clicking Add, you’ll be presented with a configuration file.
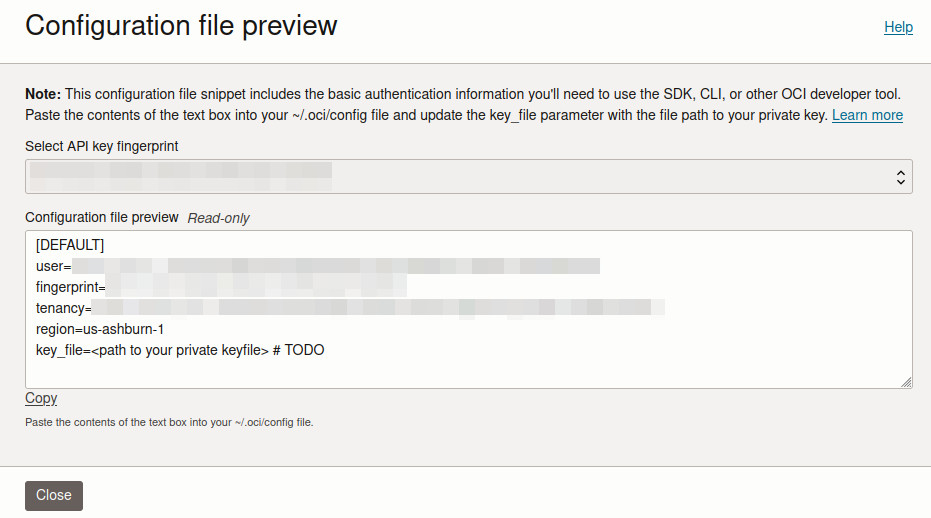
Save this configuration file as
~/.oci/configand update the key file path inside it to match your private key location:key_file=~/.ssh/oci-api.pem
Testing#
To verify that the OCI CLI is working correctly, run a few test commands.
oci iam availability-domain list --compartment-id <your_compartment_ocid>
This command lists the availability domains associated with your account. You can find your compartment OCID in the Identity section of the OCI web interface. (You can also retrieve it via the CLI, but I found it easier to use the UI.)

Next, you can list available compute instance types:
oci compute instance list --compartment-id <your_compartment_ocid>
This command returns a list of instance types. Take note of this information, as you’ll need it when setting up the Terraform module.
Setting Up the Module#
First, download the Terraform scripts from GitHub:
git clone https://github.com/sbarbett/pihole-terraform.git
cd pihole-terraform
You’ll need to create a terraform.tfvars file containing the following values:
region               = "us-ashburn-1"
compartment_id       = "ocid1.tenancy.oc1..uniqueID"
availability_domain  = "uPHd:US-ASHBURN-AD-2"
ubuntu_image_ocid    = "ocid1.image.oc1.iad.uniqueID"
public_key_path      = "~/.ssh/ubuntu-pihole.key.pub"
private_key_path     = "~/.ssh/ubuntu-pihole.key"
Let’s go over each of these values.
Region#
If you’re using a free tier account, you only have access to one region—the one you selected when setting up your Oracle Cloud account.
Compartment ID#
This is the compartment OCID you retrieved earlier. It should be the compartment where you want to deploy the instance.
Availability Domain#
This can be a bit tricky. Each region has multiple availability domains, but “always free” instances may not be available in every one. For example, in the Ashburn region, I couldn’t create free-tier instances in AD-1 and had to switch to AD-2 instead.
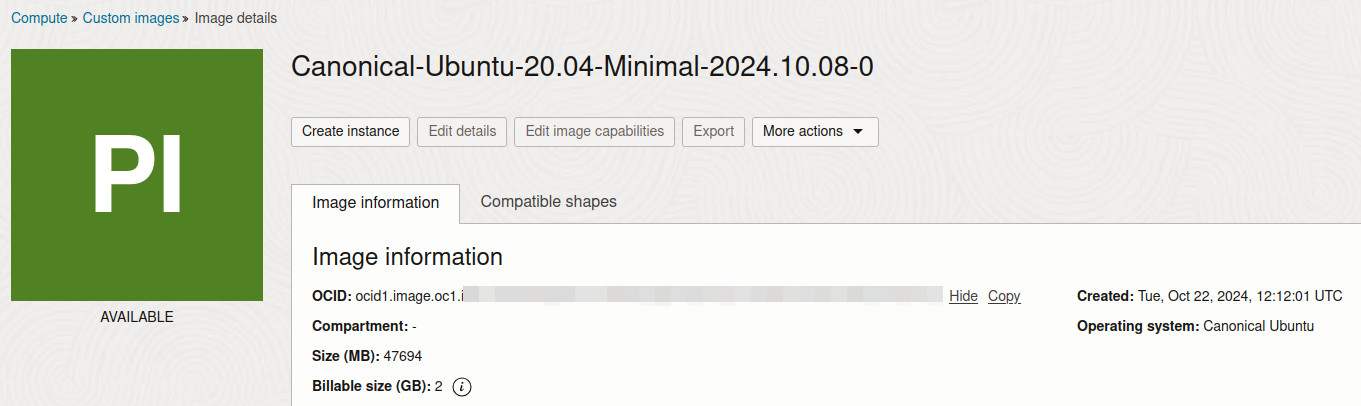
Ubuntu Image OCID#
The OCID of the Ubuntu base image from your object storage. You can find it on the OCI image selection page.
Public/Private Keys#
Generate a new SSH key pair for your instance:
ssh-keygen -t rsa -b 4096 -C "ubuntu-pihole" -f ~/.ssh/ubuntu-pihole.key
This will create two files:
~/.ssh/ubuntu-pihole.key.pub(public key)~/.ssh/ubuntu-pihole.key(private key)
Set the correct permissions for the private key:
chmod 600 ~/.ssh/ubuntu-pihole.key
Deploying#
Once your config has been set up, deploy your VM using the terraform CLI.
Initialize Terraform: This sets up Terraform and downloads the necessary provider plugins.
terraform initReview the Execution Plan: This previews the changes Terraform will make.
terraform planApply the Configuration: This actually provisions the resources.
terraform apply
If everything is configured correctly, Terraform will:
- Deploy your VM with the necessary ingress firewall rules.
- Copy
setup.shto the instance and execute it. - Deploy the required containers.
- Automatically copy the WireGuard configuration file to
~/.wireguard/wg-pihole.conf.
Once the setup is complete, you can use your WireGuard client to connect to the VPN. For additional details, see my other post.
Deprovisioning#
To remove the instance and all associated resources, use the following command:
terraform destroy
This will tear down everything Terraform created, including the VM and any related services.